

In Edvo-Kit 303, students can explore biotechnology basics with green fluorescent protein (GFP). It is one of our longer and more popular kits, allowing students to develop a better understanding about some fundamental biotechnology concepts like: transformation, protein purification, and protein denaturation. This guide includes a quick breakdown of the experiment and a FAQ section.
Experiment Breakdown
Competent E. coli cells are first transformed with pGFP plasmid DNA. pGFP codes for green fluorescent protein (GFP) and contains an antibiotic resistance gene. Transformants are selected based on ampicillin resistance, where only bacterial cells that are transformed properly with the plasmid will survive on ampicillin agar. IPTG presence in agar plates will activate the inducible promoter, regulating GFP expression in these transformed cells. GFP will be isolated, purified by size-exclusion chromatography, and analyzed by SDS-PAGE.
Module 1: Transformation of E. coli with GFP
The basis of this experiment is recombinant DNA technology, where multiple genes from different sources are combined to form a vector. Vectors allow scientists to control protein expression. In this module, students transform the host bacterial cells with pGFP plasmid DNA, so that they can isolate, purify, and analyze high-expressing GFP. Heat shocking the competent E. coli cells enables them to take up the pGFP in the presence of calcium chloride. The combination of heat shocking and calcium chloride makes the host cell permeable, meaning the pGFP can enter the cell. After the transformation protocol, cells are transferred to different plates and visualized under UV light. Agar plates with ampicillin will select for properly transformed cells, while agar plates with ampicillin/IPTG select for transformed cells and express GFP under UV light. Using recombinant DNA technology, the host E. coli bacteria have been engineered to express the T7 RNA polymerase, controlled by the lac promoter. This is an inducible promoter, meaning it has the ability to turn genes on or off. Normally, bacteria produce a lac repressor protein that binds to the lac promoter and turns the T7 RNA polymerase gene off. In the presence of an inducer, like IPTG, the T7 RNA polymerase gene is turned on, because IPTG binds the lac repressor proteins blocking their function. GFP expression is controlled by a T7 promoter, so when T7 polymerase is expressed it can recognize the T7 promoter. This promoter leads to the transcription and translation of the GFP gene, resulting in large amounts of GFP protein.
Module 2: Isolation of GFP
GFP is a powerful research tool that was first discovered in the jellyfish Aequorea victoria and expresses its trademark green fluorescence when exposed to ultraviolet (UV) light. We are able to grow large amounts of GFP expressing bacteria by picking the GFP expressing colonies from the LB/AMP/IPTG plates from module 1 and streaking them onto fresh LB/AMP/IPTG plates. The large lawn of GFP expressing bacteria is collected and lysed. The lysate can be purified through column chromatography.
Module 3: Purification of GFP by Column Chromatography
GFP is widely used in many research applications. This small fluorescent protein is commonly used as a protein fluorescent tag, which makes tracking protein purification a simpler process. While the GFP cell extracts collected in module 2 express high levels of GFP expression, there are still large amounts of other proteins present in the extracts. Purified GFP can be collected for analysis by running the cell extracts through a molecular matrix using size-exclusion chromatography. The matrix is a porous substance, that acts as a sieve, separating proteins by size. Small molecules are able to enter the pores of the matrix. This slows their travel down the column, meaning they are the last to be eluted from the column. Large molecules are too big in size to enter the pores, meaning they can easily travel down the column. They are the first proteins to be collected. Large molecules will be present in earlier fractions, while smaller proteins are present in later fractions. This experiment is unique because the protein we are isolating has the ability to fluoresce in the presence of UV light. The protein can be tracked down the column by shining a UV light against the column, allowing students to be aware of when the purified protein will be eluting from the column.
Module 4: Analysis of GFP by Denaturing SDS-GEL ELECTROPHORESIS
The purified GFP collected in module 3 is in a native state, meaning the protein is properly folded and is functioning well. Some of the purified GFP will be treated, causing it to denature, where the folding structure is disrupted and the protein no longer functions properly. These two protein states will produce different migration patterns on an SDS-Page gel, which can be analyzed by students.
Frequently Asked Questions
Q: I’m on a hybrid schedule. Do you have any suggestions for completing the lab when students are only present 2 days a week (like M+T or W/Th)?
A: Pouring Plates: If you are pouring plates ahead of time and have students on different experiment schedules, you can store all plates inverted in a sealable plastic bag in the refrigerator for up to a week. Remove the plates from the refrigerator and warm them in a 37°C incubator for 30 minutes or at room temp for 1 hour.
Source Plates: Best results are seen when E. coli source plates are streaked 18-22 hours before the experiment is performed. This can be difficult to accomplish if you have two sections of students coming in on different days. We suggest making half of the source plates 18-22 hours before the first group’s experiment, and the other half of the source plates 18-22 hours before the second group’s experiment.
Module 1 and 2: If your students are not able to come in the next day to visualize their transformation plates, you can store the plates inverted in a plastic bag in the refrigerator for up to a week. The module 2 plates can also be stored in the refrigerator for up to a week.
Q: Any advice about adding the ampicillin and IPTG in the molten agar?
A: After microwaving the ReadyPour LB Agar bottles, make sure it is cooled down to 60°C, with occasional swirling to evenly dissipate the heat. The ampicillin comes as a powder, so gently tap the tube on a table to collect it at the bottom. Open the tube and gently invert it into the growth additive. Tap the ampicillin tube to make sure all the product was added. Transfer the growth additive/amp mixture to the molten agar and swirl the bottle to incorporate. Use a transfer pipet or micropipette to add the small volume of IPTG to the molten agar and swirl to incorporate. It is important that the agar is cool before adding the ampicillin and IPTG, because heat can degrade these additives.
Q: What is the best way to prepare the Molecular Sieve Matrix?
A: The Molecular Sieve Matrix comes in a dry, powdered form. After adding the 1x Column Elution Buffer, swirl and incubate for 30-60 minutes. We have found it helpful to use a magnetic stir bar during the 30-60 minute incubation. The continuous stirring allows the matrix to be fully rehydrated, without any issues.
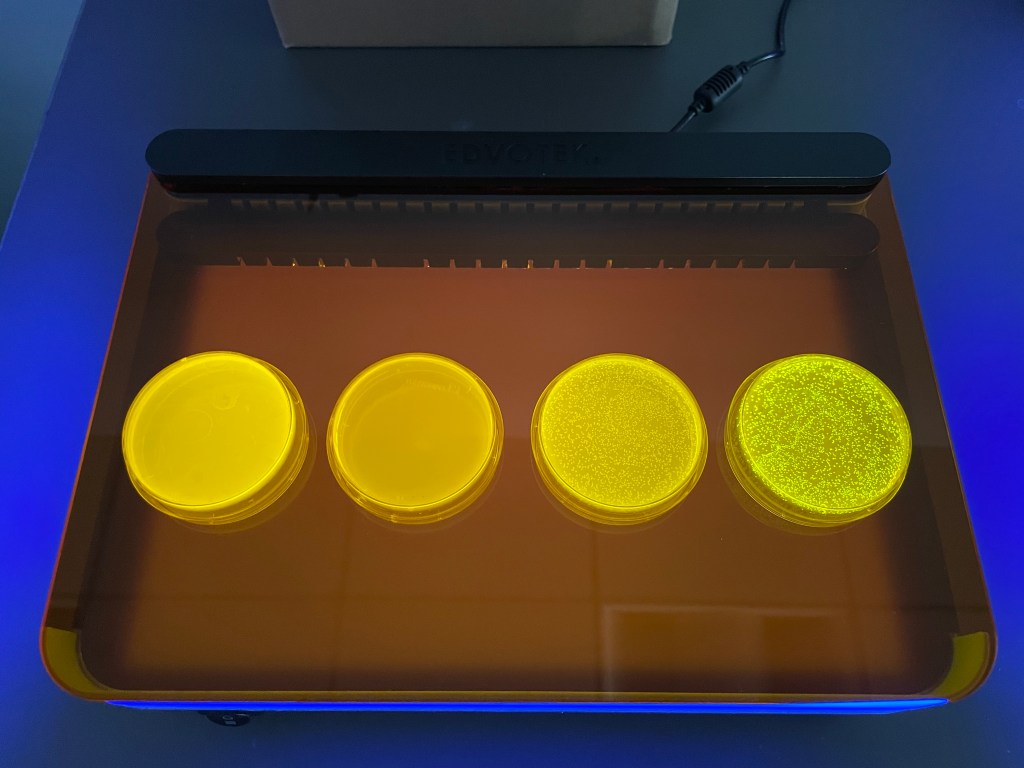
Q: What are some ways that I can visualize the GFP fluorescence on the transformation plates?
A: You can use a hand held UV light, a UV Transilluminator, or a blue light (TruBlu 2).
