Have you ever wanted to get a head start on your experimental prep before your classes start? One of the easiest ways to save time with most of our experiments is to prepare the agarose gels before you actually need them. This blog post will cover some time-saving tips you can apply to your planning to make agarose gel electrophoresis easier and faster.
Bulk Preparing Gels
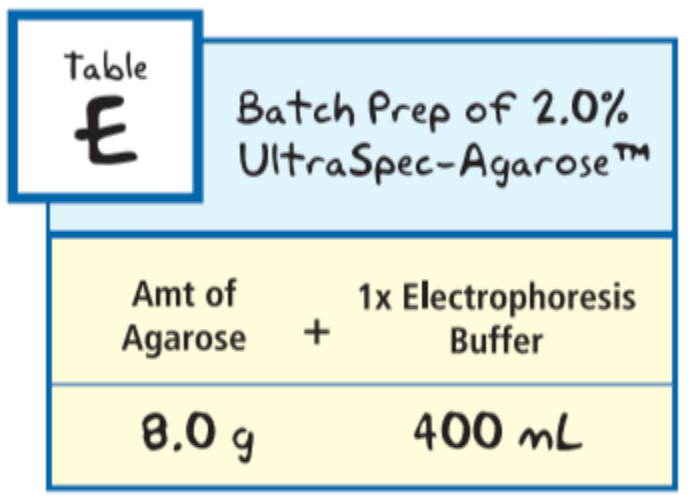
A good place to start is to prepare all of the gels you’ll need for your class at once in bulk. Each experiment requires a different percentage agarose gel, so make sure that you check out the specifications of your experiment before preparing anything. In the Instructor Guide of the experiment literature you’ll be able to find a helpful guide that shows you how much agarose, electrophoresis buffer and water you’ll need!

Storing Gels
Once the gels have been poured into the casting trays and solidified, they can be de-casted and stored in the refrigerator for several days. However, to ensure longevity of your gels, make sure you wrap them in plastic wrap, or place them in a plastic ziplock bag and add ~1-2 mLs of 1X Electrophoresis Buffer to ensure the gel stays moist. Make sure that when you remove the comb you handle the gel carefully, as it is easy for them to break if it is a lower percentage like 0.8%. Then add a label to the gel, making sure to note what percentage the gel is, the date it was poured, as well as if there was any stain in the gel- like SYBR-Safe!
Aliquoting Gels
If you would like your students to get the experience of pouring their own gels, you can aliquot some of the molten agarose for each student group as well. To make this a quick and easy process, you can batch prepare the agarose in bulk, then dispense the amount needed for each gel into a conical tube or flask for your students. Then you can either keep all of this in a 60ºC water bath (to ensure it stays molten), or have the students re-heat their agarose in the microwave. Just make sure you double check the volume you’ll need for each gel depending on the size of the casting tray. Information like this can always be found in our experimental protocols!

What about pre-stained gels?
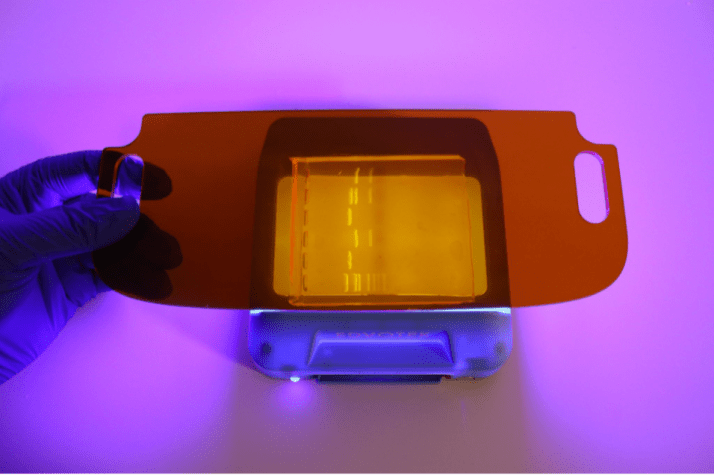
If you’ve prepared a gel using SYBR-Safe before, you are probably already aware that it is heat sensitive and has to be added to the molten agarose after it has cooled to around 60ºC. That being said, if you want to prepare gels that contain SYBR-Safe ahead of time, we recommend that you cast them in the gel trays so that once they solidify they do not need to be reheated. Then simply wrap or bag them up with a little bit of buffer! If you want your students to have the experience of pouring their own gels, you can dilute and add the SYBR-Safe in the bulk volume of agarose gel (as per the instructions in the Instructor Guide) and keep the gels in conical tubes or flasks in a 60ºC water bath so they remain molten. If you’re using a stain like FlashBlue, no need to worry about any of this since you’ll be staining the gels after the electrophoresis has finished.
Interested in some of our gel electrophoresis kits and equipment? Check out some of my favorites here: Electrophoresis Sampler Kit, Nucleic Acid Testing for COVID-19, EDGE Integrated Electrophoresis System, and SYBR-Safe DNA Stain.

