

Hey there, biology and biotechnology teacher extraordinaire! We know you love your thermal cycler. After all, it’s a powerhouse of a lab tool that lets you conduct all types of exciting experiments, teach Noble Prize winning technology, and demonstrate the fundamentals of molecular biology. But sturdy and strong as your thermal cycler seems this awesome equipment still requires a little tender loving care. Fear not! In this blog post, we’ve got your back with some practical tips to maximize the power and lifespan of your PCR thermal cycler. So let’s dive in, and before you can even separate two strands of DNA, you’ll have an optimally tuned DNA amplifying machine.
Read the Manual:
Yes, we know manuals aren’t the most thrilling reads, but trust us, it’s worth your while! Manufacturer’s manuals provide detailed instructions on operating your specific thermal cycler, along with cleaning guidelines and maintenance schedules. So take a moment to peruse the pages to find a perfectly catered care plan. Don’t forget, if you have any questions, need clarification, or just want to show off your newfound knowledge reach out to the manufacturer.
Give it Some Space:
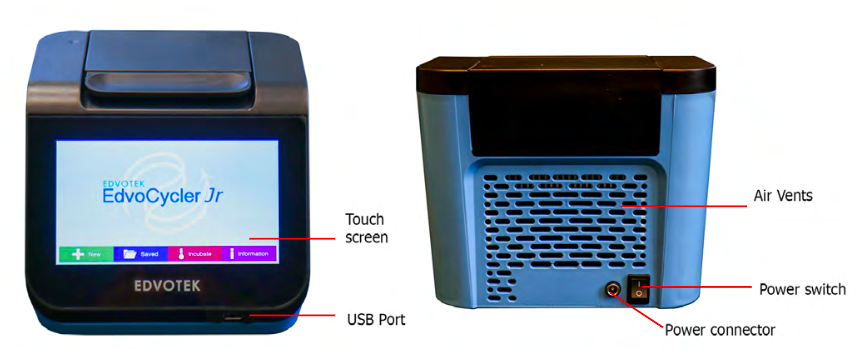
Your thermal cycler relies on good ventilation, so make sure it has enough breathing space. Keep other heat-emitting or air-cooled equipment at least 30 cm away. Oh, and remember to clean those vents yearly (see cleaning below).
Surge Protection for the Win:
Power fluctuations and surges can put a damper on your thermal cycler’s performance and lifespan. Safeguard your machine by plugging it into a reliable power source and consider using a surge protector. Your thermal cycler will thank you!
Keep it clean:
Keeping your PCR machine clean isn’t just about appearances; it’s crucial for contamination-free results and extending its life. But cleaning can be tricky because getting liquids within your thermocycler could damage it. Here’s a simple and safe cleaning routine for you:

- Turn off and unplug the machine. Then let it cool down for 20-30 minutes. This makes sure key hot spots like the lid, wells, and sample block are at room temperature and that there are no remanent electrical charges.
- Use a soft cleaning cloth to gently wipe the exterior. Microfiber cloths designed for computer screens work like a charm! You can also you a soft cloth lightly moistened with a soap solution of neutral pH for stubborn stains or sticks. In this case, take extra care to prevent any water from getting into the unit.
- Clean the sample block. The sample block is where PCR tubes or plates are placed and is particularly prone to contamination. Use a lint-free cloth or swab soaked in isopropanol, a mild detergent, or a DNA/RNA decontamination solution recommended by the manufacturer to clean the wells and the edges. Make sure everything is completely dry before you finish. If there is residual moisture just use a dry swab.
- Clean the bottom of the hot lid with a cloth or swab soaked in isopropanol just like above. Again wait for everything to dry before returning it to a normal position.
- Take a small brush and gently clean the vents. Alternatively, pass a cloth moistened with isopropanol over them.
Do a Yearly Check Up:
Once a year do a general inspection of your machine. Check the electrical supply and wires. Next, check the control buttons or display for any damages or loss of responsiveness. Finally do the thorough cleaning as outlined above.
Ask For Help
If there are any issues or specific questions regarding your thermocycler, don’t hesitate to contact the manufacturer’s customer support. They possess the expertise to provide guidance, troubleshoot problems, and offer valuable advice to ensure the longevity of your instrument.
Now that you have your PCR machine in tip-top shape reward yourself (and your students) with one of our classroom ready PCR experiments!
Title Image Attribution: Rror, CC BY-SA 3.0 https://creativecommons.org/licenses/by-sa/3.0, via Wikimedia Commons
