

At Edvotek we know the power of hands-on experiments to engage, empower, and teach. And we recognize that great graphics, video, and computer games can help unlock understanding. That said there’s something magic about in-person classroom demonstrations (especially those that involve students moving around). Such activities make the microscopic tangible and comprehensible while also re-energizing a class! These are four of my favorite classroom activities. Delivered just in time for the warmer temperatures where everyone – even an advanced biology student – is just a little stir crazy.
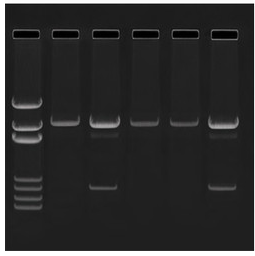
Modeling Electrophoresis: Electrophoresis is a powerful tool in both the lab and classroom that lets us see and analyze molecules like DNA. But what exactly happens when you switch on the current? Why not get your class to demonstrate. In this activity, your classroom is the gel. Depending on the classroom’s current setup, keep or move desks/tables/chairs so that they create obstacles and corridors that imitate the matrix found in agarose gels. Your students are the molecules. Have them line up on one side of the classroom and quickly walk or “migrate” to the other side. Then repeat with a few modifications. What happens when 2, 3, or 4 students link arms? Is it faster/slower to move to the other side of the class? What happens when you add or remove some of the chairs? Finally, get students to relate their observations back to this technology by explaining how gels can separate molecules by their size and why gel percentage matters. (If you have a large classroom this is a great activity to do while your electrophoresis experiment is running – just make sure that the gels are far enough away that they don’t get knocked over!)
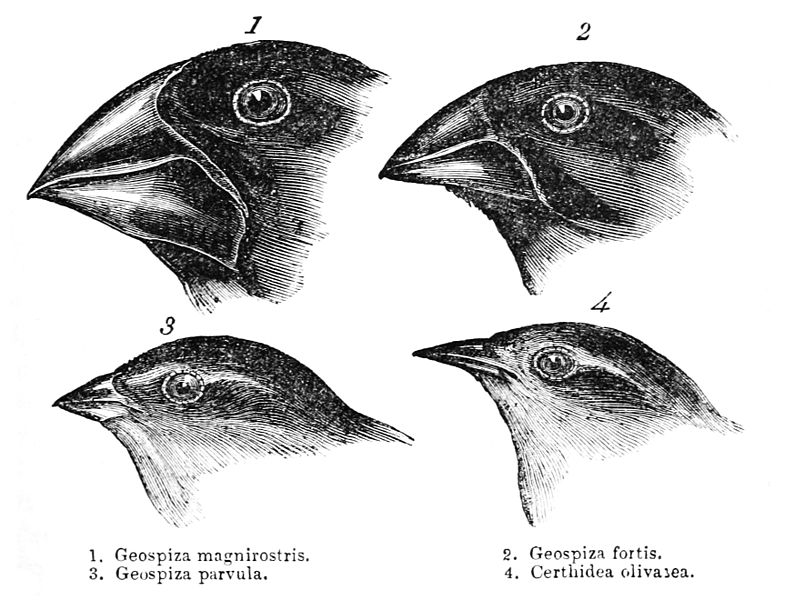
Evolution Telephone: What this activity lacks in motion it makes up for in nostalgia. In the easiest version student stand or stay seated in a circle. The first student is given either a complex sentence or a nucleotide sequence. Because these will be older students and because you’re aiming for a few mistakes make the sentence long or the sequence between 6-12 nucleotides. Also, write the original down on a notecard! The “message” is sent through the “telephone” as each student whispers it to their neighbor. As the message passes between students, it will likely change as small mistakes in translation are made and accumulate. Write down the final sentence/sequence and compare! Simple with no set up this game does an excellent job at demonstrating how small mutations that happen to DNA can add up and create new species. If you want to take it to the next level (and by the next level I mean a pen and post-it note set up) check out this amazing lab https://tieseducation.org/resource/using-the-telephone-game-to-teach-natural-selection/. But be prepared to also explain what a telephone was!
Synaptic Tag: This game needs space but it also sounds like a ton of fun. Use painters’ tape or chalk to draw two half circles separated by 40-80 feet (if you’re in a gym, outside basketball court, or soccer field feel free to adapt and use the markings that are already there). Explain that one circle is the axon terminal and the other the dendrite. Then assign teams. Around 75% of the class should be team neurotransmitter while 25% will be team enzyme. The object of the game is to get as many neurotransmitters across the synaptic cleft without being deactivated by an enzyme. Neurotransmitters gather in the axon terminal while enzymes wait in the space between the two circles. When someone says go the neurotransmitters run across the synaptic cleft towards the dendrite as fast as they can while the enzymes try to tag as many of them as possible. If a neurotransmitter gets tagged they’re out and need to wait till the next run, if they make it to the dendrite, they’re safe. (Think sharks and minnows). Interested in a few more rambunctious neurology games complete with lesson plans? Check out the University of Washington’s Neuroscience for Kids – Outside Games.
Toothpick Reactions: This activity is far more sedate and only requires a box of toothpicks, a container, and water for each student. It’s truly a hands-on way to quickly explore enzymatic reactions and reaction rates! Students’ hands are the enzymes, toothpicks the substrate, and broken toothpicks the product. Students close their eyes and using one hand break as many toothpicks in half as they can always placing the broken toothpicks back in the container. Do a practice run with 10 toothpicks, then set up an experiment to see if enzyme activity changes over time by trying to break 50 toothpicks and measuring the number of broken toothpicks at 5, 10, 20, and 40 seconds. Check out this video to see the experiment in action as well a two similar experiments that explore the effect of substrate concentration and temperature on reaction rates.

1 comment
Comments are closed.