

In the last installment of this series we are sharing some images, videos and resources that can be helpful during your worm experiments. These images and resources can also help you visualize some of the concepts we went over in the other Worm-o-ween series.
Seeding Plates: Add around 200 uL of OP50 bacteria culture to the surface of NGM plates. Swirl plate to spread culture evenly. Incubate at 37°C overnight. Once incubated plates are ready to received worms.
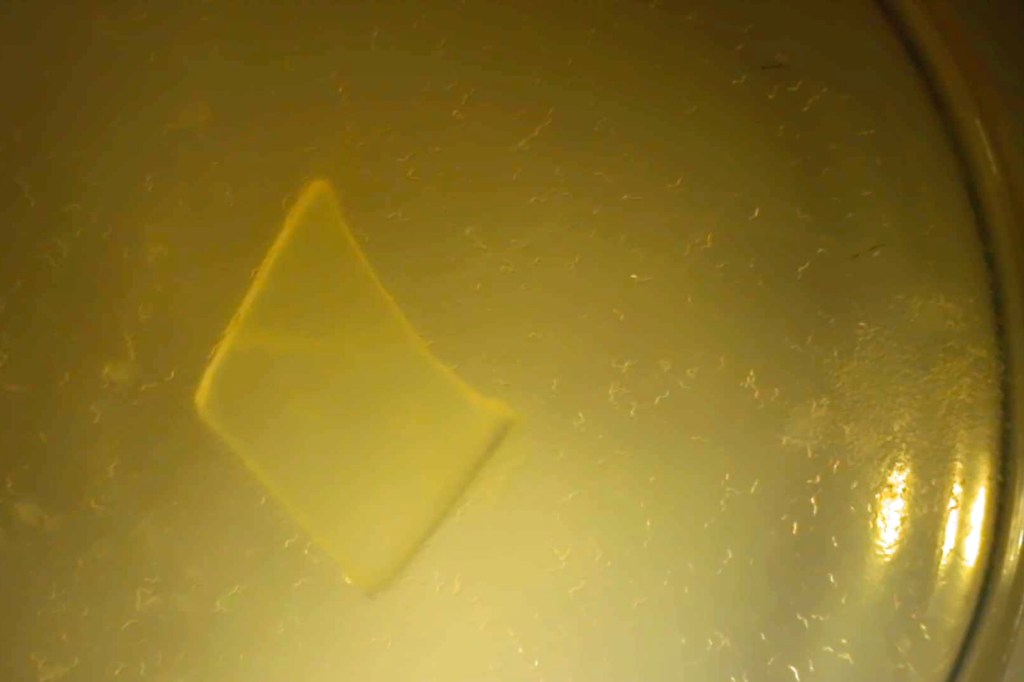
Chunking Plates: To chunk plates you will cut a small rectangular piece of the NGM agar with worms on it with an inoculation loop. Pick up the worm chunk and gently place the chunk, worm side down onto the newly seeded plate.
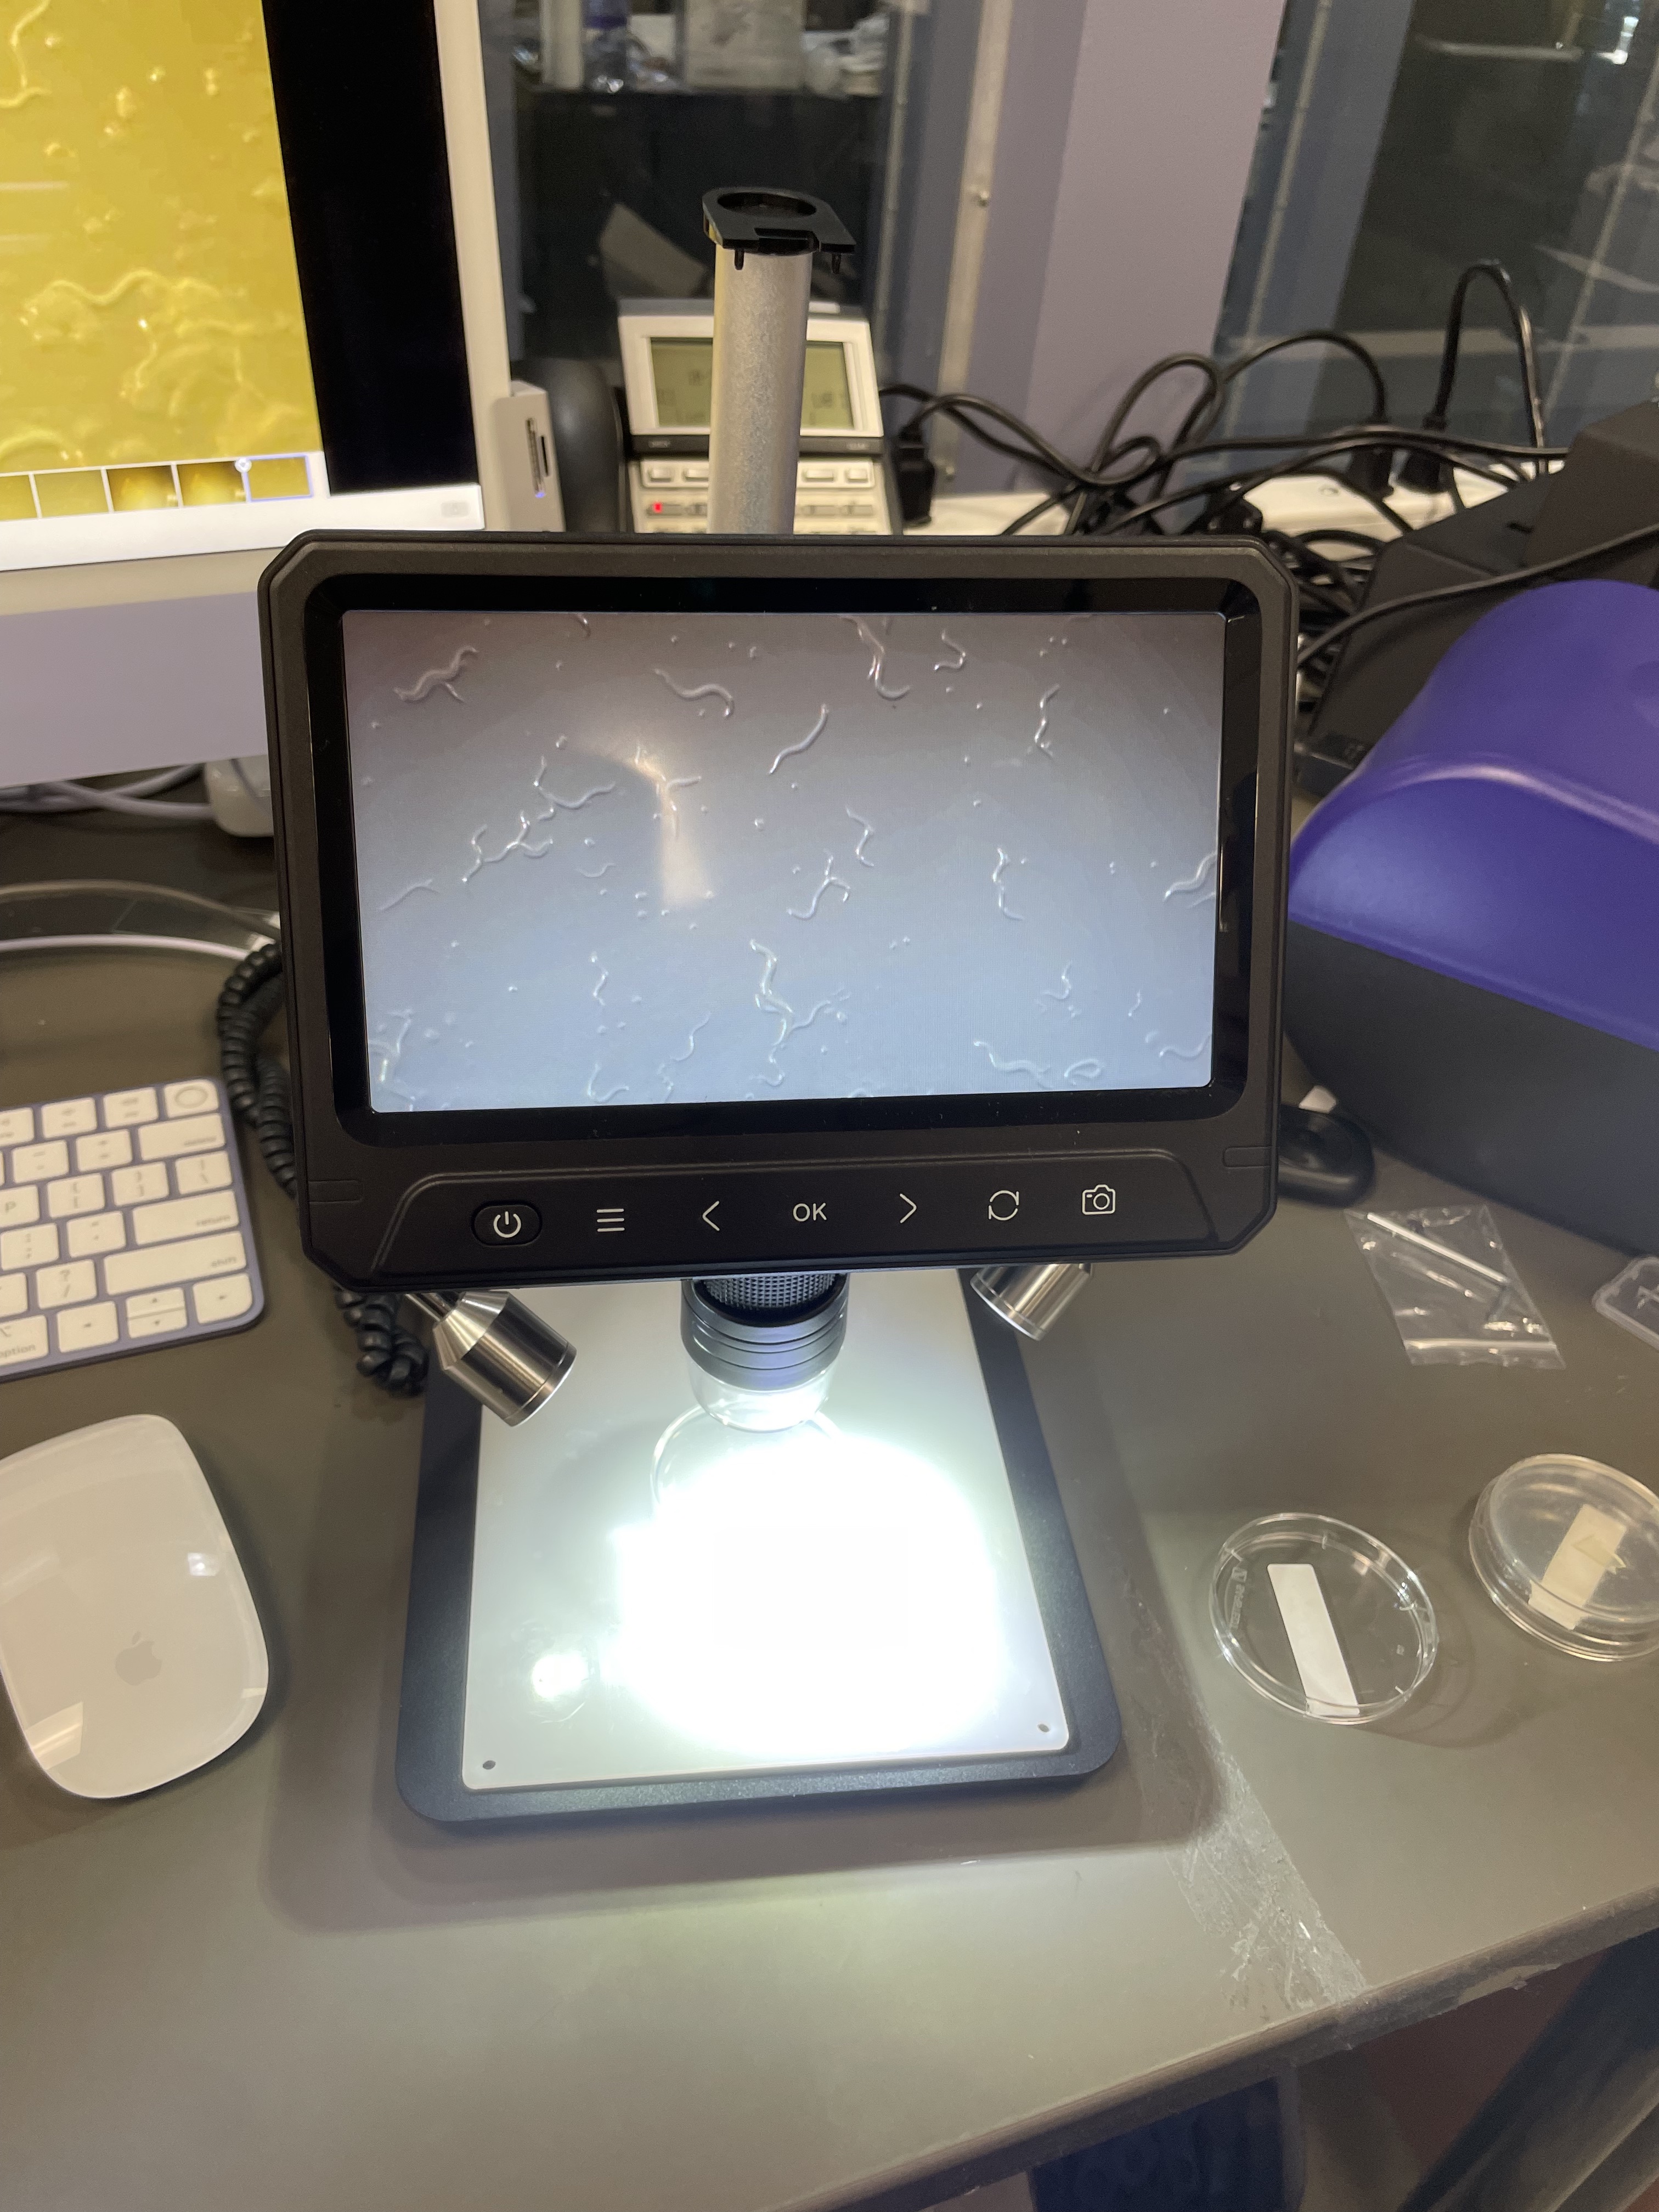
Visualizing Worms: Please use a microscope. We recommend a dissecting scope or compound scope with 10X-40X magnification. Using magnifying glasses or your eyes to try and visualize worm movement will not work. With a microscope like the one shown in the picture below you can visualize the worms on the screen without having to look through an eyepiece!
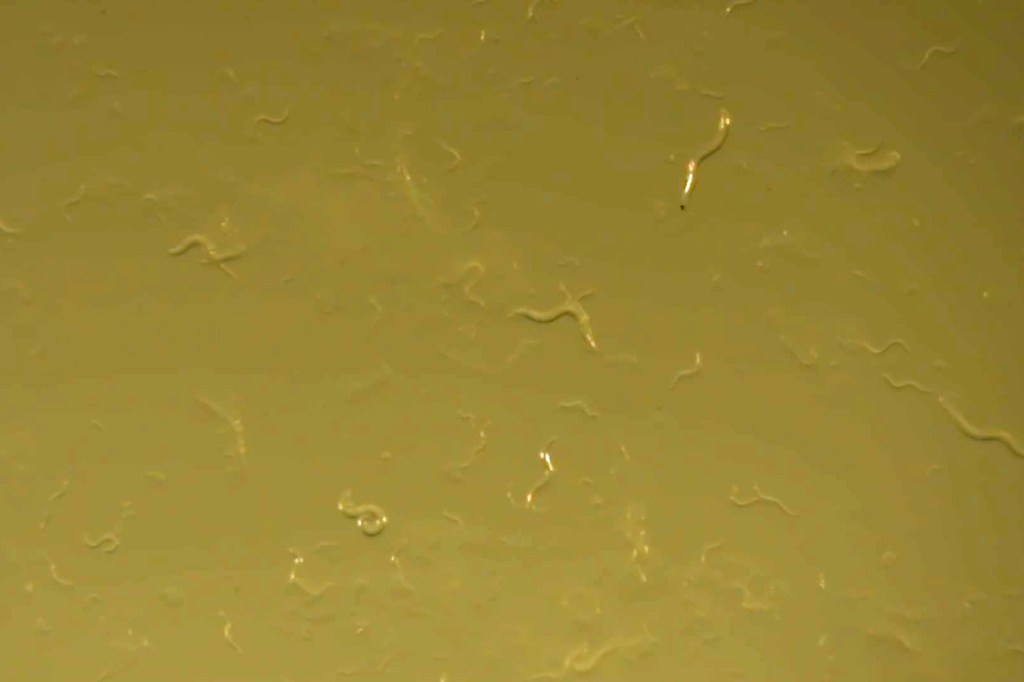
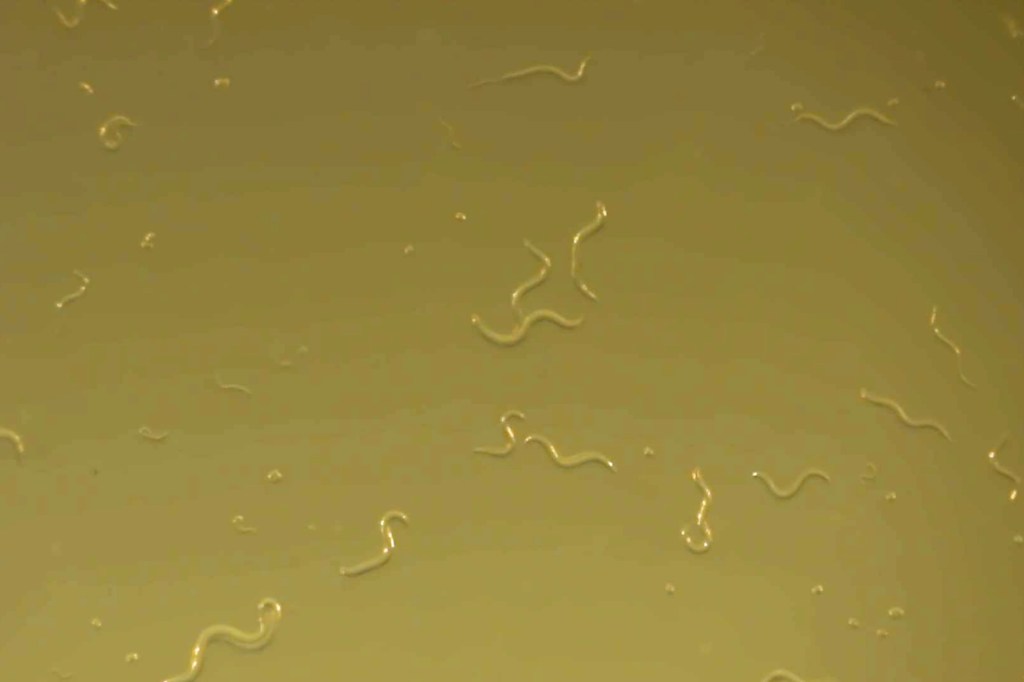
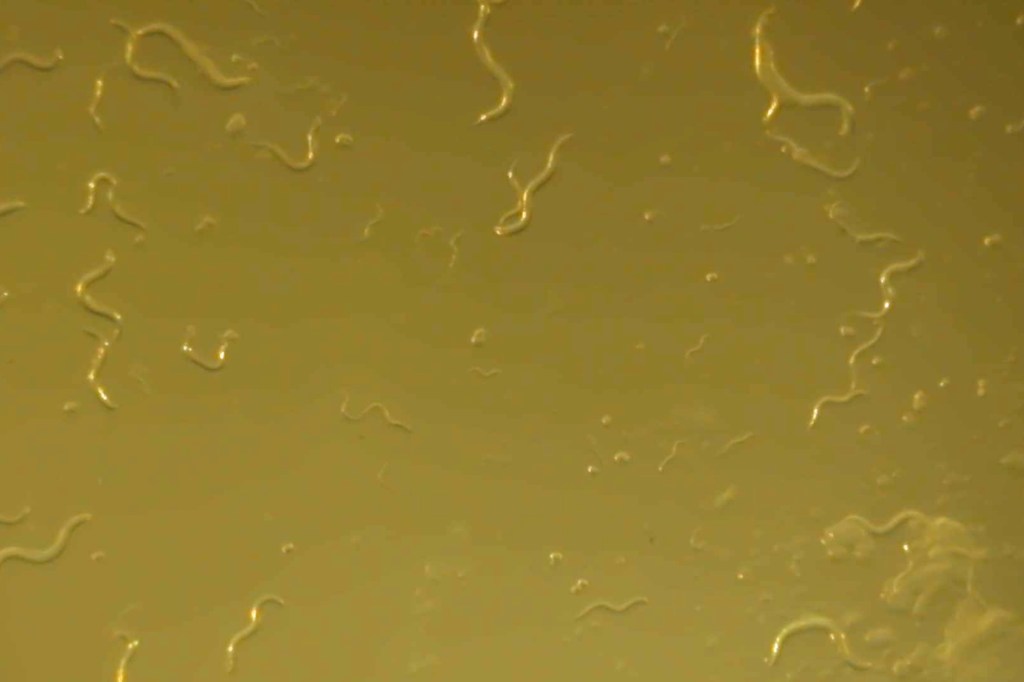
Worm Pictures: Below are some worm pictures where you can see different life cycle stages. We also provided a picture of a chunked plate to show what a healthy, populated plate looks like! You can see L1-L4 worms, many adult worms, and even a few eggs (look for the smaller, circular shaped objects in the pictures).
The WormBook is a great online resource that has vast information about nematodes. If you ever plan on doing an independent research project, this would be a great resource to find related publications. The site also has great information on worm scientific methods. It is definitely a resource I have used and will continue to use!
Thank you for joining us on this spooky month for Worm-o-ween. We hope that you found the series helpful and have become excited to work with the worms in your classroom!
Happy Halloween to all our Worm-o-ween friends!
