

As we continue with our science summer camp, solar ovens present a fantastic opportunity to harness the power of the sun for sustainable and eco-friendly cooking. Building a solar oven is not only a fun DIY project but also an excellent way to teach your campers about renewable energy. In this blog post, we’ll guide you through the steps to create your own solar oven and share some tips on how to use it effectively to make S’mores!
Materials Needed
- A cardboard box with a lid flap (may we recommend an Edvotek kit box?)
- Aluminum foil
- Stick or dowel
- Plastic wrap
- Tape (duct tape or any strong adhesive tape)
- Scissors or a craft knife
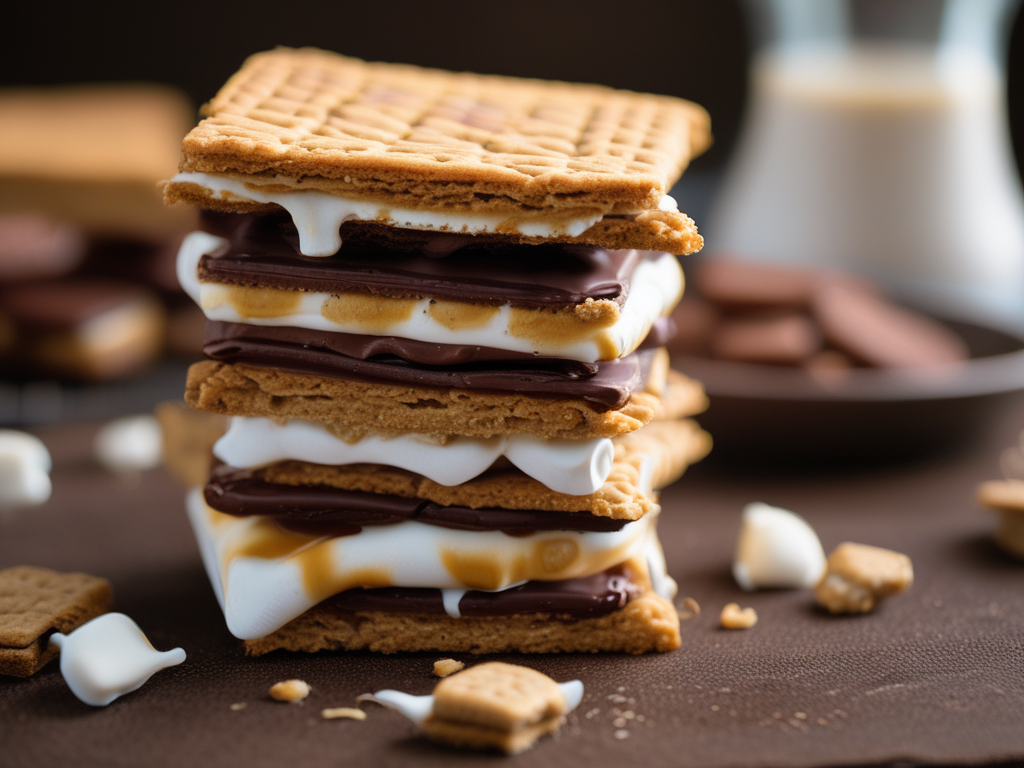
- Things to cook and cookware (we recommend S’mores – graham crackers, marshmallows, and chocolate)
- Glue stick (optional for additional adhesive)
Building Your Solar Oven
Step 1: Prepare the Box. Ensure the box is clean and dry. If using a food box, ensure that it is free of any leftover grease or food particles
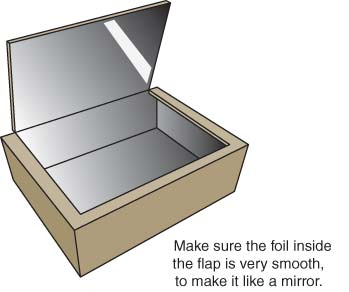
Step 2: Create the Reflector Carefully cut off the box flaps using scissors or a craft knife, leaving the fourth side attached to create a flap. Cover the inside of the flap with aluminum foil, shiny side out, securing it with tape or glue. This flap will act as a reflector to direct sunlight into the box. Then, line the inside walls of the box with aluminum foil to reflect heat towards the center.
Step 3: Prepare the Cooking Area Cover the opening of the box (created by the hole) with plastic wrap, securing it tightly with tape. Ensure there are no gaps, as this will help trap heat inside the box.
Using Your Solar Oven
Step 1: Positioning Place your solar oven outside in direct sunlight. The ideal time is during midday when the sun is at its highest point. Use the flap to reflect sunlight into the box. You may need to adjust the angle of the flap to maximize the amount of light entering the oven.
Step 2: Preheating Preheat your solar oven by allowing it to sit in the sun for about 30 minutes before placing any food inside.
Step 3: Prepare the food.Build your S’mores in the cookware. Use lightweight, dark-colored cookware, as it absorbs heat more efficiently. Avoid using metal cookware that might reflect heat away.
Step 4: Cooking Place your food in the center of the box on top of the black construction paper. Close the lid and ensure the plastic wrap is sealed tightly. Monitor your food periodically, and adjust the position of the reflector flap to maintain the best sunlight exposure. Solar ovens work by gradually increasing the temperature inside, so cooking times will be longer compared to conventional ovens. Be patient and enjoy the process of slow, sun-powered cooking!
Be sure to write down your recipes, observations, and data. (Don’t forget to download our Summer Camp Activity Guide, which contains a lab report page!)

How do solar ovens work?
A solar oven works by:
- Concentrating Sunlight: Using reflective surfaces to focus sunlight into the oven.
- Retaining Heat: Sealing the oven traps the generated heat.
- Cooking Food: Utilizing the trapped heat to gradually cook the food inside.
Creating and using a solar oven is a rewarding project that showcases the power of renewable energy. Not only does it provide a hands-on learning experience, but it also promotes sustainable living practices. Whether you’re teaching kids about science or exploring new eco-friendly cooking methods, a solar oven is a delightful and educational tool. So gather your materials, embrace the power of the sun, and start cooking with your very own solar oven!
For more information:
