

Each year, Edvotek participates in a local elementary school science fair. This year, we hosted a microscopy booth where the young scientists could look at a selection of common household objects using an inexpensive digital microscope. Microscopes let us see the tiny details of everyday things—details that are completely invisible to our eyes alone. And for kids, that moment of zooming in and seeing the “unseen” can spark a lifelong love of science.
Why use a microscope?
A microscope is a tool that helps us see tiny things that are too small for our eyes alone. It uses lenses to make objects look bigger, so we can see details like the cells in our body or tiny organisms in a drop of water. Scientists and students use microscopes to explore the hidden world all around us.

What You’ll Need
- A microscope (a simple USB or light microscope is perfect for beginners)
- small plastic vessels like petri plates
- A dropper or pipette for liquids
- A notebook or drawing pad for observations (we created a lab notebook page that you can print if you want to)
- Various items to examine!
What Can You Look At?
The real question is: what can’t you look at? Here are some favorite things to observe under a microscope—and what to look for:
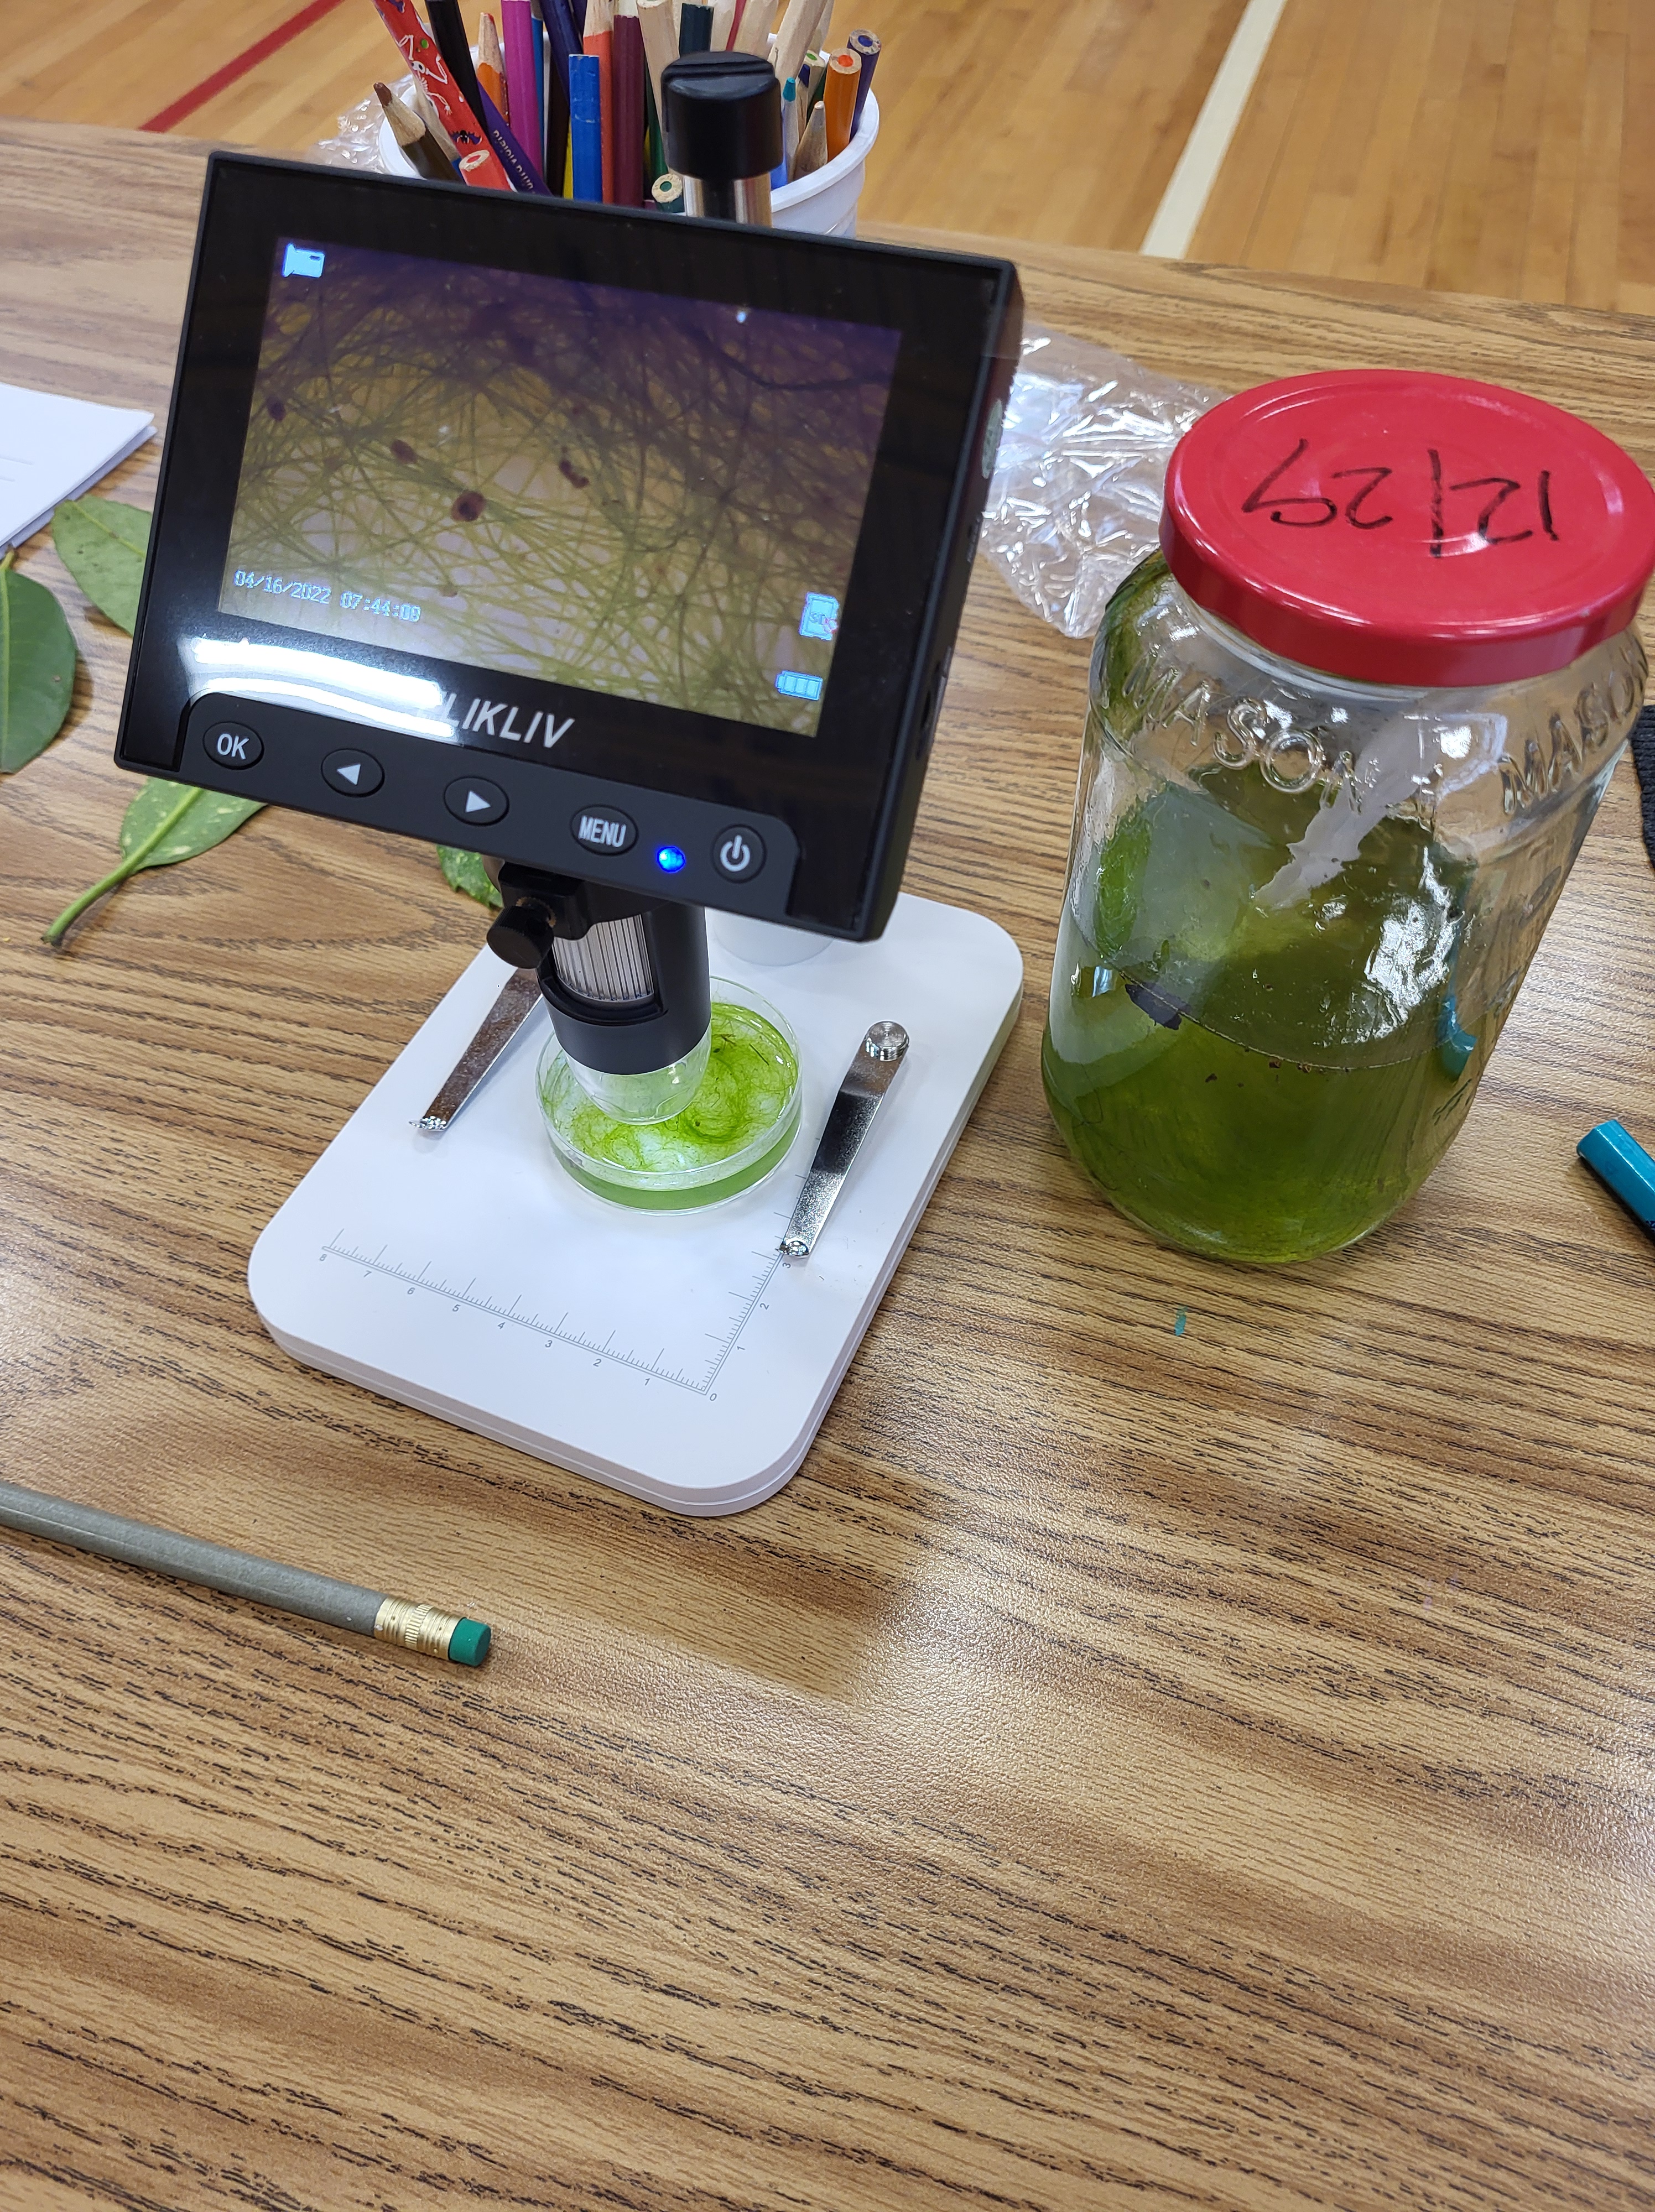
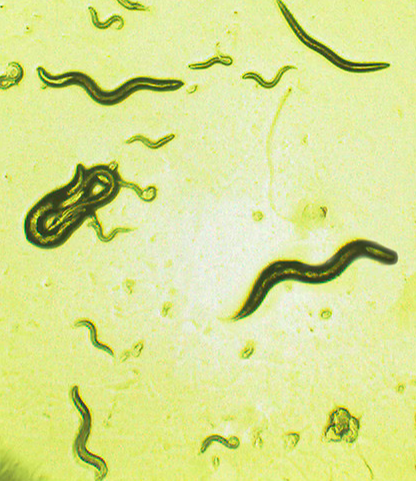
- Pond Water: Still a classic! Look for tiny creatures like protozoa, algae, and rotifers zipping around in the drop. You can see pond water on the microscope to the right.
- Onion skin: Peel a thin layer from the inside of an onion and place it on a slide. Add a drop of water and a cover slip to see rectangular cells with visible nuclei. Need some help? We have a kit that provides the materials and the stain.
- Leaf or flower petals: Flower petals may reveal colorful pigment cells or tiny hairs.If your microscope has good resolution, you can follow this protocol to visualize the stomata on the bottom of a leaf.
- Hair: Compare strands of human hair with pet fur or different hair colors. Notice the similarities and differences in texture and thickness.
- Fabric Fibers: Take a swatch of fabric from a shirt or towel and look at how it’s woven. Compare knit and woven fabrics to see if they look different. Do natural and synthetic fibers look very different up close? Create a hypothesis and test it!
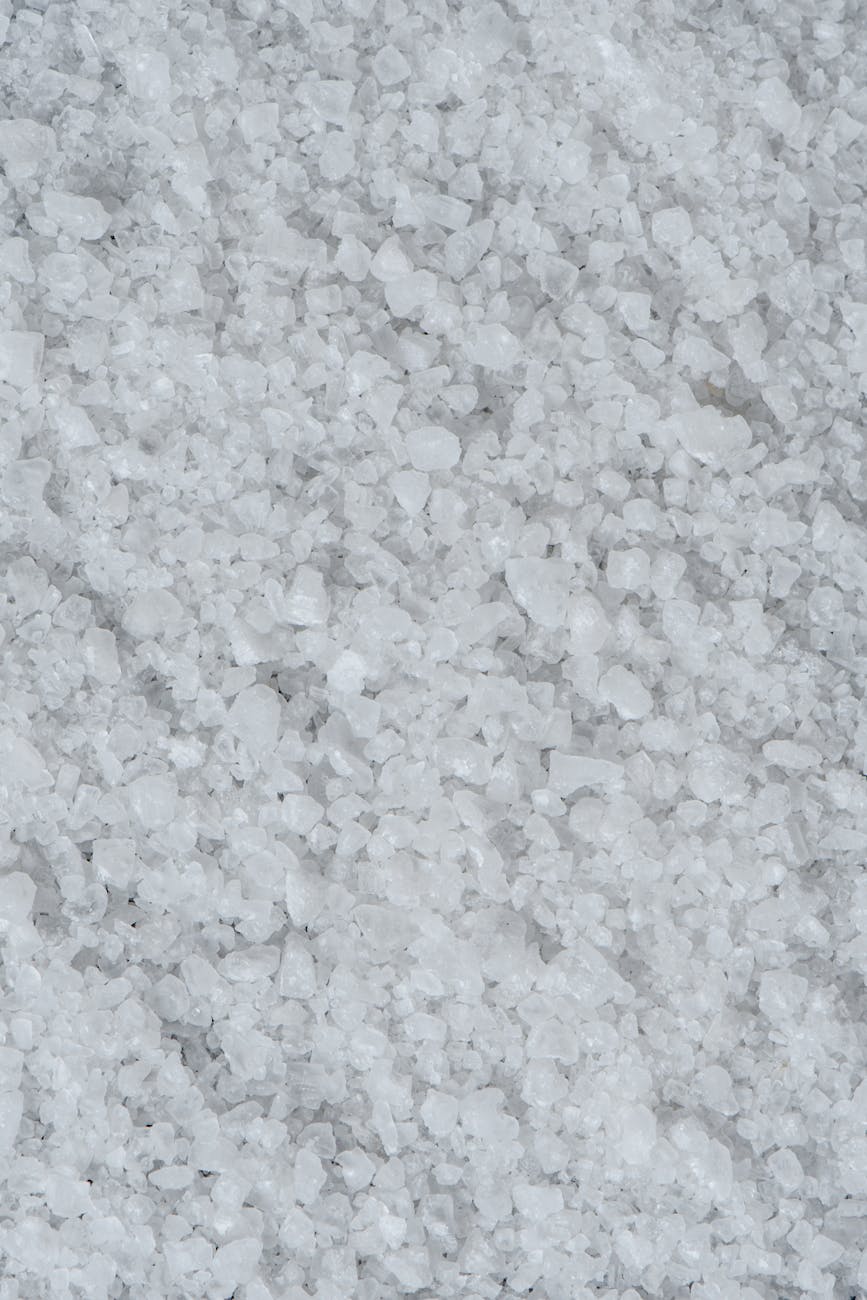
- Salt or Sugar Crystals: Place a few grains on a slide (no water needed) and check out the cool shapes—salt forms little cubes, while sugar is more angular.
- Paper: Try a piece of newspaper, a napkin, or even toilet paper. You’ll see how the fibers are arranged and how the ink is absorbed.
- Mold: Found some old bread or fruit? (Gross, but cool!) A tiny bit of mold on a slide can show spore structures and fuzzy growths.
Observation Tips for Kids
- Draw what you see—it helps train your eyes! (We put special spots in our lab notebooks just for drawings!)
- Write down shapes, colors, and movement.
- Ask questions and compare different samples: How is sugar different from salt? How is your hair different from your dog’s?
Keep the Curiosity Going
Microscopy doesn’t have to be a one-time activity. Start a microscope journal where kids can collect drawings and notes from each sample they observe. Try setting up weekly “mystery object” challenges—can they guess what something is just by looking at it up close?
Microscopes turn ordinary things into something extraordinary. From squiggling pond creatures to the hidden texture of a paper towel, the world under the lens is full of surprises. Best of all, it’s a fun and meaningful way to learn science together—with just a few simple tools and a lot of curiosity.
So grab your microscope and get ready to go on a tiny adventure—because science is everywhere. You just have to look a little closer.

1 comment
Comments are closed.