

For many biotech experiments, precision and purity are vitally important. Whether you are culturing cells, cloning DNA, or analyzing student samples, any contaminant risks ruining the entire experiment. That’s why aseptic technique is a cornerstone of every successful teaching lab and an essential skill to teach students.
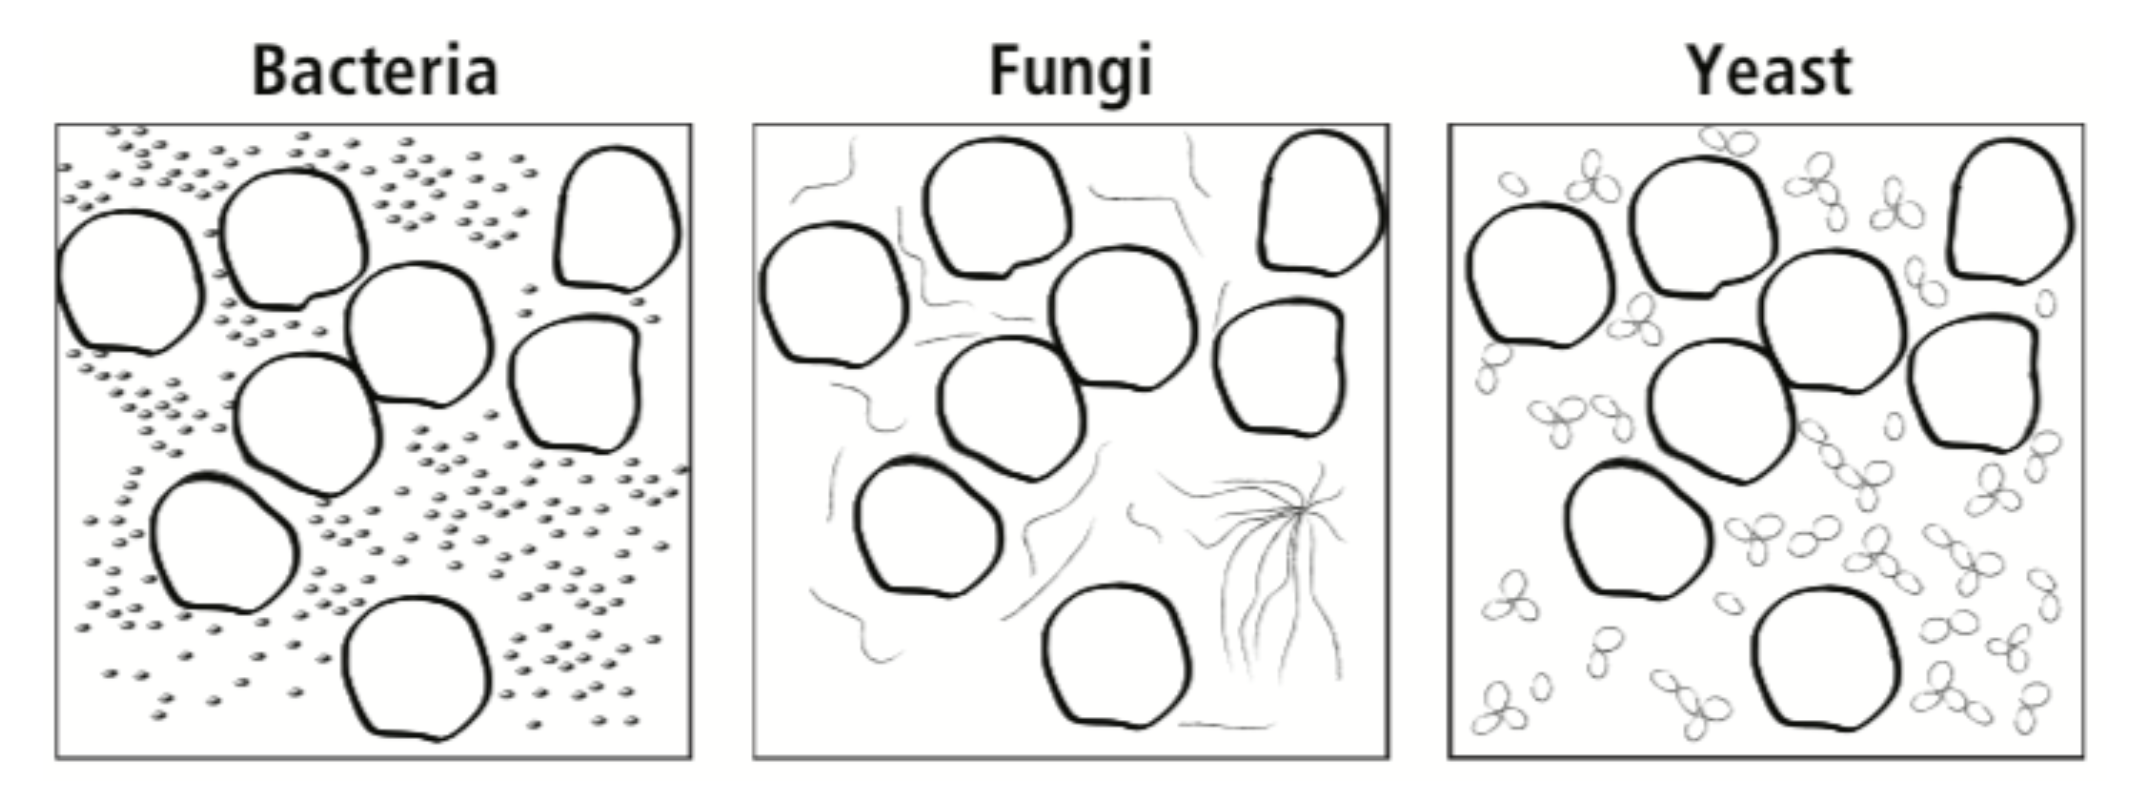
We have previously discussed the importance of aseptic technique in your classroom lab. That post is still an amazing resource, and I highly recommend reviewing it and sharing it with students. You’ll find essential information on identifying contaminants such as bacteria, yeast, fungi, and viruses. Importantly, we also outline the best ways to prevent contamination before it starts.
Bringing Aseptic Technique into the Classroom
Due to the importance of aseptic technique in the lab, we highly recommend practicing these sterile procedures with your students. It’s essential for students to recognize that aseptic techniques prevent contamination of not just their experiments and lab bench, but also themselves. Therefore, practicing will prepare students for future careers and ensure they can be successful and healthy in the lab.
Here are some simple steps you can implement to keep the lab area sterile:
- Clean the work area: Wipe down lab benches with 70% Ethanol or a dedicated disinfectant before AND after experiments. Designate these areas as sterile work zones.
- Use proper Personal Protective Equipment (PPE): Wear lab coats, gloves, and goggles. Ask students to tie back long hair and avoid touching their faces, hair, and other personal effects during the experiment.
- Practice flame sterilization: When appropriate, the use of a Bunsen burner or alcohol lamp is an excellent method to sterilize slides, inoculating loops, and culture tubes or bottles. If flames are not allowed you can substitute pre-sterilized plastic tools, autoclaved materials, or alcohol wipes.
- Minimize exposure of sterile items: Open dishes, tubes, and pipette tips only when needed and close them immediately after use. Similarly, avoid placing sterile tools onto the bench between uses.
- Dispose of used cultures and tools appropriately: Instruct students on the proper disposal of their cultures, media, and tools. This can include biohazard containers or dedicated trash meant for autoclaving or incineration. Finally, instruct students on the proper methods to remove and sterilize any PPE and wash their hands before leaving the lab.
Finally, it might make sense to try some brief activities with your students to test their aseptic technique. For example, you can ask students to culture bacterial or yeast in the absence of selective antibiotics. Students can isolation streak bacterial colonies onto a fresh agar plate and then examine them over the following days for any contaminants. You can also ask students to intentionally skip steps in their sterile technique and compare any resulting contamination at the end of the experiment!
Aseptic technique is an essential skill for all budding biotechnologists. It ensures that experiments are run properly and free from contamination, resulting in reliable and reproducible results. Even more importantly, sterile techniques protect scientists from exposure to potentially harmful microorganisms. Practicing these skills is a great way to introduce your students to real-world biotechnology!
