

As a student, the biotechnology lab is the place where you bridge the gap between classroom concepts and the real-world techniques used in research labs around the world. However, as an educator, you have to be mindful of the potential safety hazards that can arise as your future scientists experiment. In this blog post, we’ll cover some basics to keep you and your students safe in the biotechnology lab. We feature many of these guidelines in our experiment pre-lab prep, but it’s always a good idea to review them with your students each at the beginning of each school year.
- General laboratory safety: Like the chemistry, physics, or earth science lab, there are certain practices in the lab that we should be practicing at all times to prevent accidents or injury. Here are some good practices for general lab safety, regardless of the lab you are in.
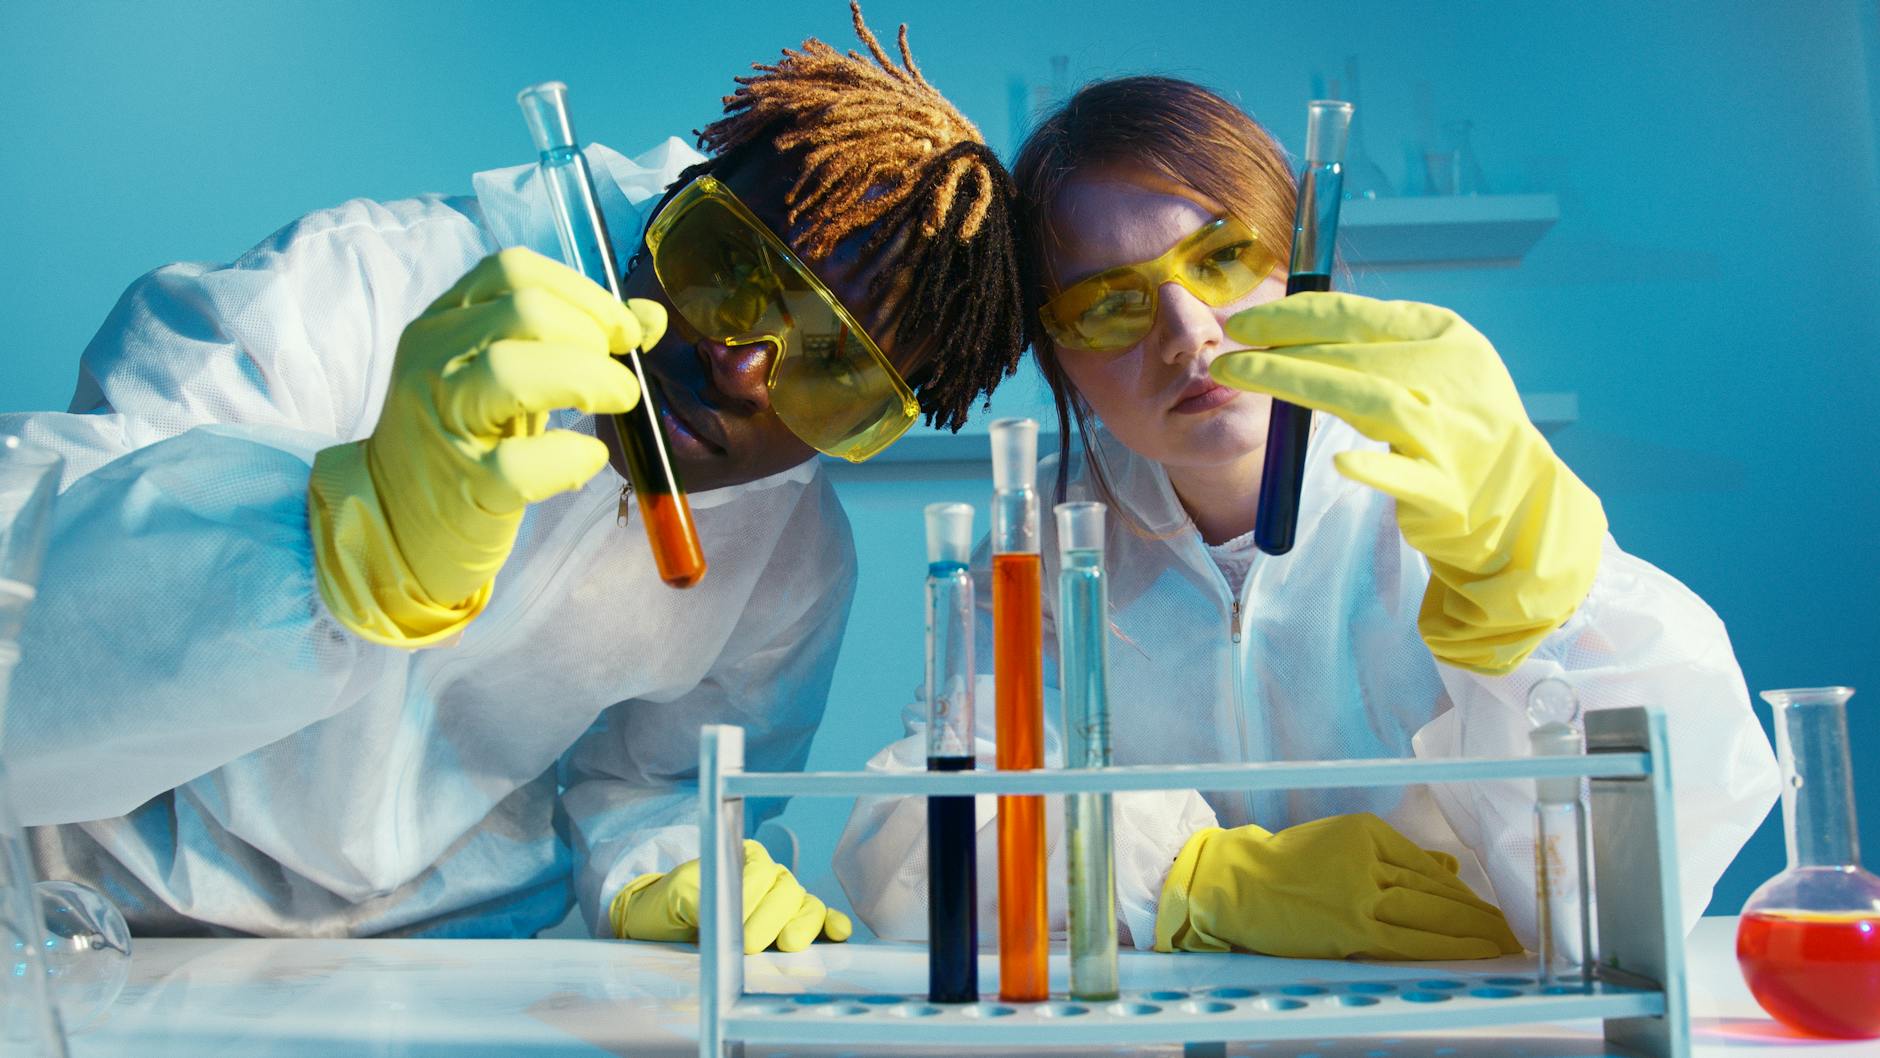
- Always wear the proper personal protective equipment (PPE) when you are in the lab. This can vary by the experiment so make sure to review the reagents before starting. Wear chemical splash goggles when handling chemicals, heat, or glassware. Use chemical-resistant gloves and a lab coat or apron to avoid contact with hazardous materials.
- Never eat, drink, or chew gum in the lab.
- Pipetting by mouth? Absolutely not. Always use pipet bulbs or fillers.
- Clean up spills immediately, and report any incident (especially if it involves skin or eye exposure) to the instructor.
- Know where the fire extinguisher, eyewash stations, and safety shower are located.
- Wash hands thoroughly with soap and water before leaving the lab.

- Handling chemical reagents: Most biotechnology reagents are pretty safe but there are always exceptions. Take care when preparing to prevent chemical burn injuries!
- Review Safety Data Sheets (SDS) for every reagent used (here’s a great post outlining a lesson that you can do to teach your students how to review SDSs). If you have a question about safe handling or disposal, contact your school’s chemical hygiene officer for local or state guidelines.
- Although they are safe for student use, FlashBlue™ and similar stains readily stain skin and clothes, so lab coats and gloves are a must.
- We recommend using Sybr® Safe to stain your DNA gels and blue light to view the results. This helps you avoid hazards from using ethidium bromide (a mutagen) and UV light (another mutagen) for DNA visualization.
- Flammable solvents like ethyl or isopropyl alcohol require strict handling. Do not use them around open flames (like Bunsen burners) or heat sources (like hot plates).
- If you are performing SDS-PAGE, we recommend using precast polyacrylamide gels instead of pouring your own. Although many researchers pour their own polyacrylamide gels, liquid acrylamide is a potent neurotoxin and it is not worth risking student exposure.
- Safe techniques for heating and running agarose gels: If you’re in a biotechnology laboratory, chances are really high that you are running at least one agarose gel electrophoresis experiment. There are two main hazards for these experiments — preparing the gel and running the gel. Here are some guidelines for safe preparation and experimentation.
- Preparing agarose gels involves heating agarose powder with buffer until it melts, and then cooling it to 60C before pouring the gel.
- Always wear goggles and heat-resistant gloves when handling hot solutions.
- When using a microwave, heat the solution in short intervals (30–40 s) and stir to prevent superheated splatter or explosions.
- When using a hotplate, use medium-low heat and watch to avoid boiling. Swirl the solution occasionally to mix.
- Melt your agarose with a rice cooker! We have a full tutorial on how to perform this on YouTube!
- If you do not want your students to heat the agarose, you can prepare it in advance and then leave the molten agarose in a 60C water bath before pouring the gel.
- Running an electrophoresis experiment involves electricity plus liquids, which equals a hazard potential. At this point, you and your students need to take proper precautions to avoid electrocution. Edvotek electrophoresis chambers are built with safety features like automatic shutoffs and anchored leads to reduce the risk of shock, but students should still take caution.
- Ensure power supplies, leads, and lab benches are dry before powering up.
- Keep hands dry, and double-check the power is off before connecting or disconnecting leads.
- Never open the chamber lid while the unit is powered. Edvotek chambers are designed so that they cannot be opened while the gel is running but it’s never bad to be extra cautious.
- Preparing agarose gels involves heating agarose powder with buffer until it melts, and then cooling it to 60C before pouring the gel.
- Proper usage and disposal of biological materials: It wouldn’t be a biotechnology laboratory without using biological materials! This can be as simple as DNA extracted from strawberries, or as complicated as genetically transformed cells. Here are some guidelines for safe usage.
- The bacteria included in Edvotek experiment are not considered pathogenic, but it is still important to follow simple safety guidelines.
- Wipe down the lab bench with a 10% beach solution or a laboratory disinfectant before and after the experiment.
- Disinfect material that has come in contact with bacteria before disposing them. To disinfect used materials: autoclave at 121°C for 20 minutes (make sure to first package agar plates etc. in an autoclavable, disposable bag to prevent liquid spilling into the sterilization chamber) OR soak materials overnight in a 10% bleach solution.
- When isolating human DNA or performing PCR with human samples, avoid sharing equipment to prevent contamination.
- The bacteria included in Edvotek experiment are not considered pathogenic, but it is still important to follow simple safety guidelines.
- Encourage a culture of safety: While your lesson on safety might be a beginning of the school year, safety practices should be performed with every experiment.
- Regularly review safety rules—not just during orientation.
- Consider creating a “safety contract” that students sign after the initial training.
- Plan ahead by reading SDSs and equipment guides before each lab session.
- Stay alert and consistent—repetition builds good habits.
Don’t forget to download our free guidebook that is available now. This Biotechnology Bootcamp guide contains a TON of valuable information to help you set up your lab this fall, including links to safety resources, basic lab skills training, and lessons and worksheets to help get your students ready for a fantastic laboratory experience.


1 comment
Comments are closed.