

Over the past few weeks we have detailed the latest exciting member of the Edvotek equipment family, the EDGE Integrated Electrophoresis system. If you missed it, check out our previous blog post to learn how the EDGE can run a full agarose gel electrophoresis experiment in as little as 10 minutes! Today, we are going to take a stroll through the evolution of the EDGE, from early concepts to the finalized design.
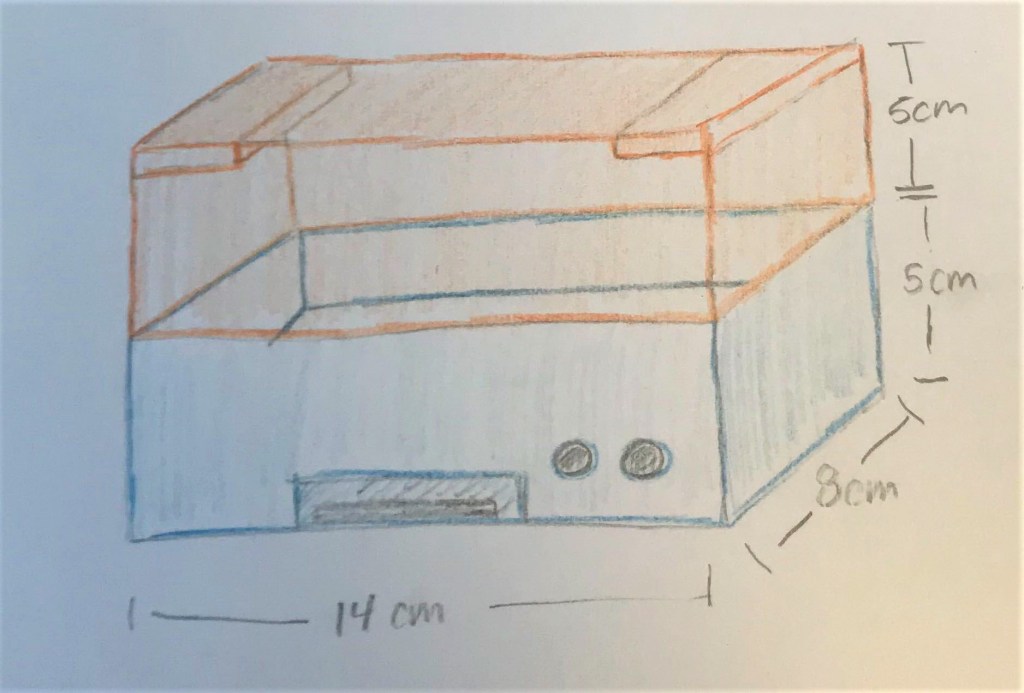
From its inception we designed the EDGE to eliminate many of the problems seen in other integrated electrophoresis systems. This required the ability to run a full-sized gel, providing space for up to 20 samples and multiple groups per apparatus. The larger gel would allow for better resolution (a larger gel for the DNA to migrate through) and easier sample loading, features that are essential for use by novice scientists in a classroom laboratory.

In addition to ease of use, we wanted to develop the fastest integrated electrophoresis system on the market. The speed of a DNA electrophoresis experiment is constrained by multiple factors, including (but definitely not limited to) the volume of agarose and buffer, the size of the tank, and the voltage of the power supply. Low-and-slow works great for electrophoresis (and BBQ!) – running a gel at a nice low voltage produces sharp, beautiful DNA bands. The problem is that as you lower the voltage you also increase the time it takes to run an experiment. But, by carefully calibrating those variables it’s possible to fine-tune an electrophoresis experiment to capture the best of both worlds.
The earliest physical prototypes used our existing M12 Electrophoresis chambers with modified electrodes. Dozens of different chambers, gel volumes, and voltages were tested until we were fully satisfied. Speed and resolution, together at last!
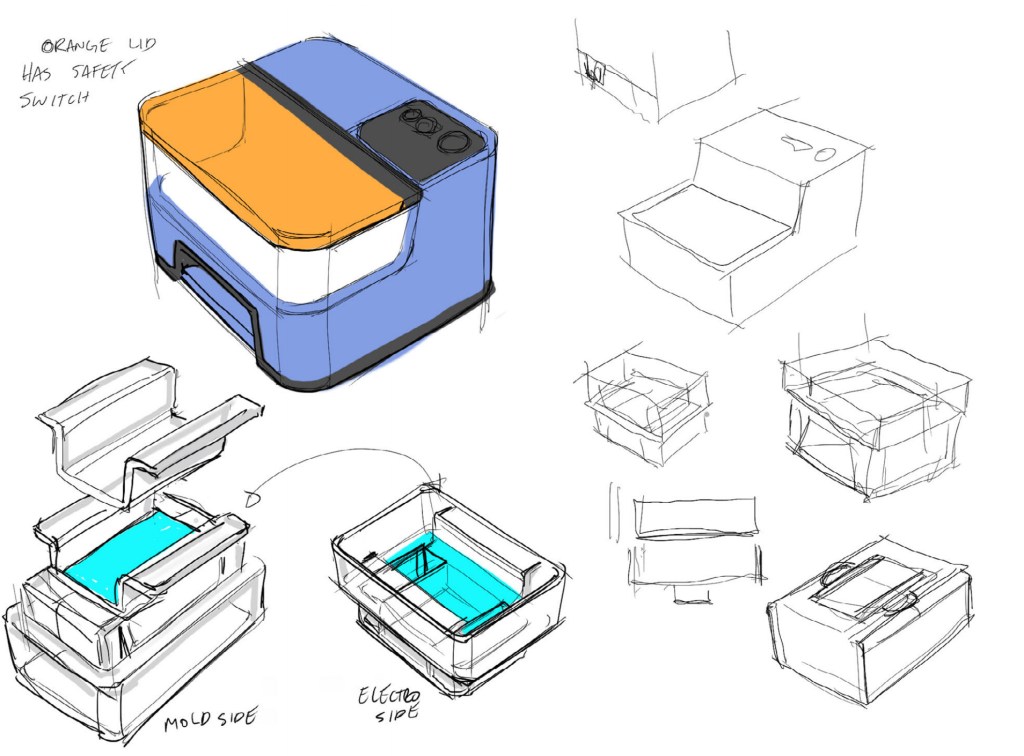
Everything that we learned from these prototypes was then poured back into the designs of the EDGE. The CAD models were refined, critiqued, and refined again, until we were completely satisfied. At that point it was time to fire up the 3D printer and build a prototype! Working with our industrial design partners we printed and molded the case, fabricated and manufactured the electrical components, and built the very first functional EDGE. This humble workhorse underwent hours of testing and abuse before being replaced by the second wave of prototypes – rest assured, it has earned its retirement and now rests happily on a shelf in the office as a happy reminder of how far we’ve come on the project.

The result of all of this engineering work is an integrated electrophoresis system that is fully compatible with every agarose gel experiment we have thrown at it, producing publication-quality results in 10 minutes! We hope you enjoyed this little dive into the process we have taken to design, test, and prototype the EDGE. Also, if you’d like more information, lesson plans, and presentations about electrophoresis, check out the excellent Gel Electrophoresis resources available at our learning center!

2 comments
Comments are closed.