

Over the past month we have introduced the Edvotek EDGE integrated electrophoresis system and explored the evolution of the EDGE from prototype to fully realized product. Today we wanted to share another sneak peek into our design process with a quick look at one of the earliest functional prototypes.
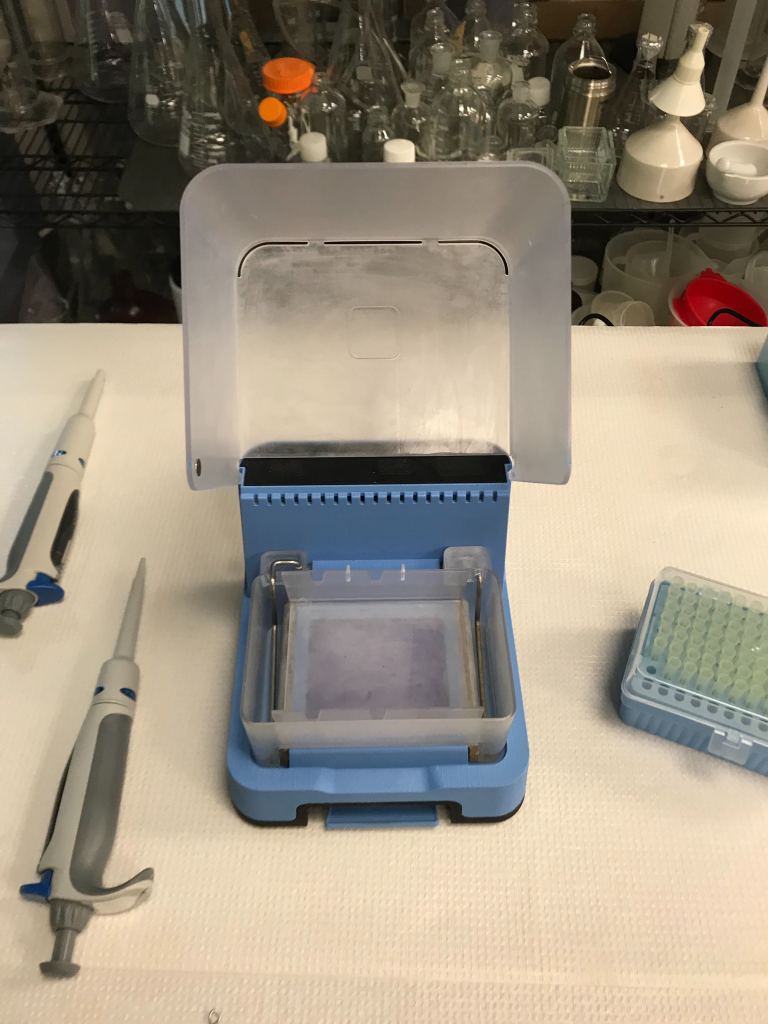
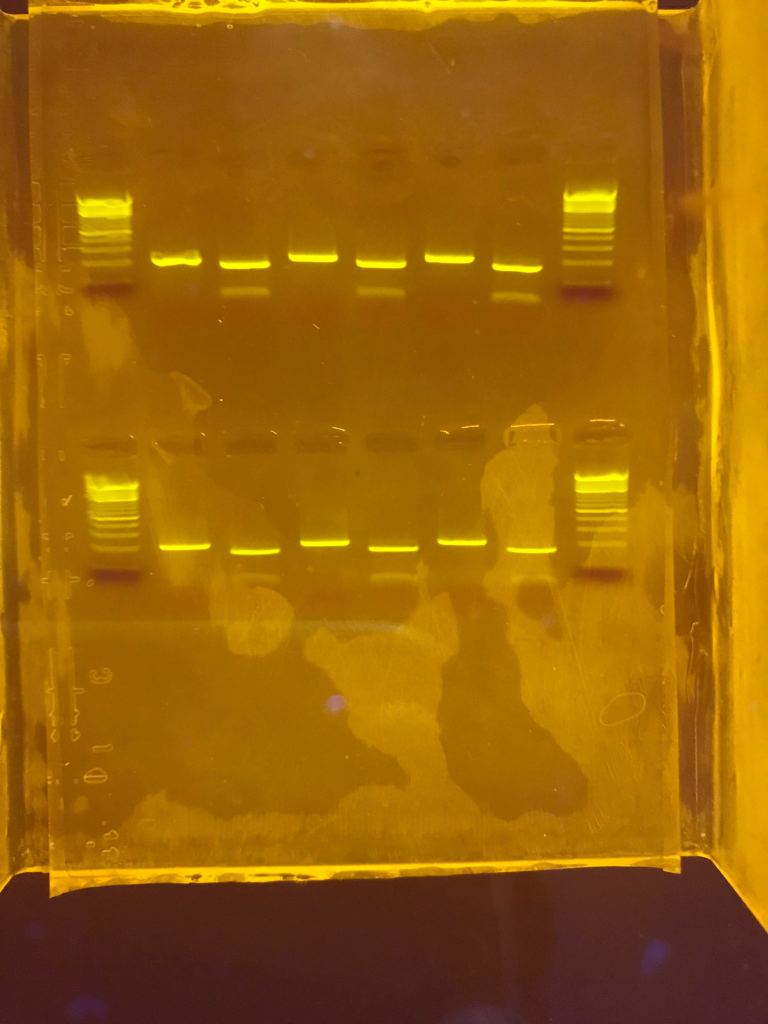
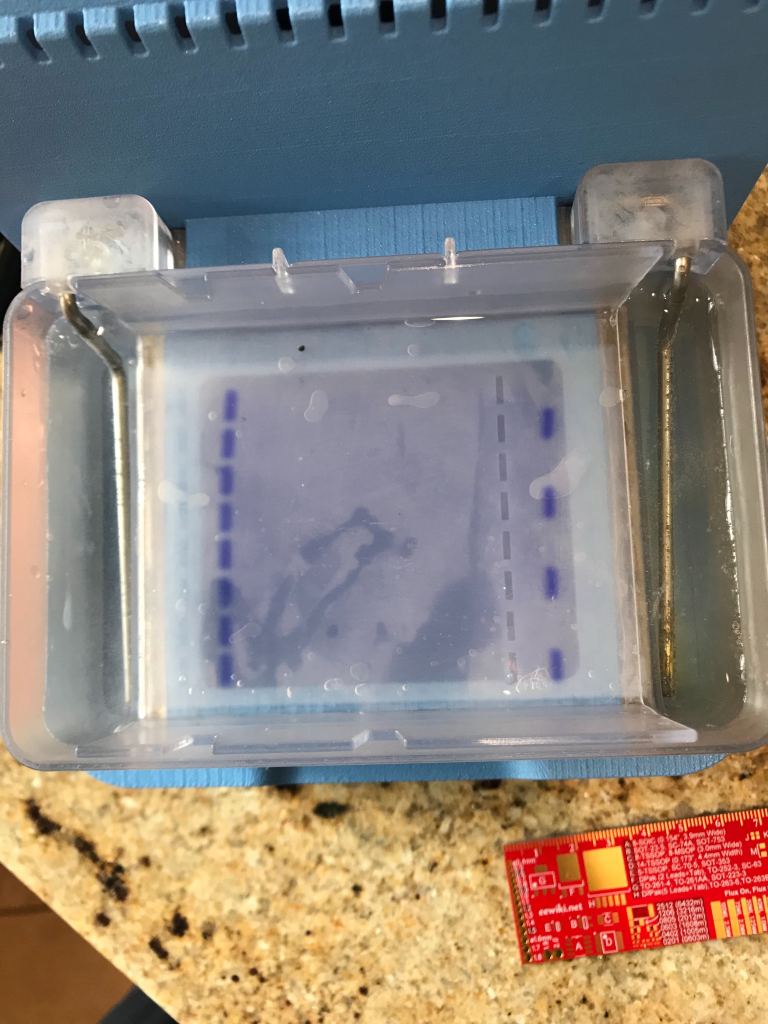
As you can see in the video, the early prototype was made out of 3D-printed plastic parts, rather than the molded plastic of the production unit. We also used pre-production versions of the boards that control the timer and voltage selections. This required power to be supplied from an external power supply, rather than the integrated dual-voltage supply in the final unit. Despite this, the unit was otherwise fully functional and produced beautiful gel electrophoresis results.
Clearly this initial prototype was an extremely rough version of the final EDGE equipment. However, rapid prototypes like these are actually incredibly valuable for the design process. There are many aspects of a physical model that make them superior to a CAD (Computer-aided Design) file. For one, it’s tricky to visualize how the final unit looks and feels without being able to get your hands on actual plastic. It also gives us an opportunity to test out certain functions that we can’t do otherwise – in this case it let us test materials for different components, ensure that the safety features are working properly, and develop an idea of the assembly process for the final device.
Additionally, we generally discover multiple changes that we want to make once we have a functional prototype. The EDGE was no exception – from this prototype we were able to select the final voltage requirements, dial in the brightness of the LEDs, and make alterations to some of the plastic pieces. These changes are then rolled into the final version of the design and sent out to fabricate molds for the plastic and produce the final boards. As you can tell, this back-and-forth process shares a lot of similarities with scientific research. We brainstorm to develop an initial idea of what we need to make, then build it up as a computer model and eventually a 3D prototype, making alterations as we go to refine the final product as new data is recorded. It’s a long process, but it ensures that we can make the best possible equipment for the classroom!
Looking for additional information on electrophoresis? Check out our recent YouTube livestream where Dr. Snowflack dives into the science behind DNA and dye electrophoresis and performs an experiment live (straight from her secret basement laboratory!).
